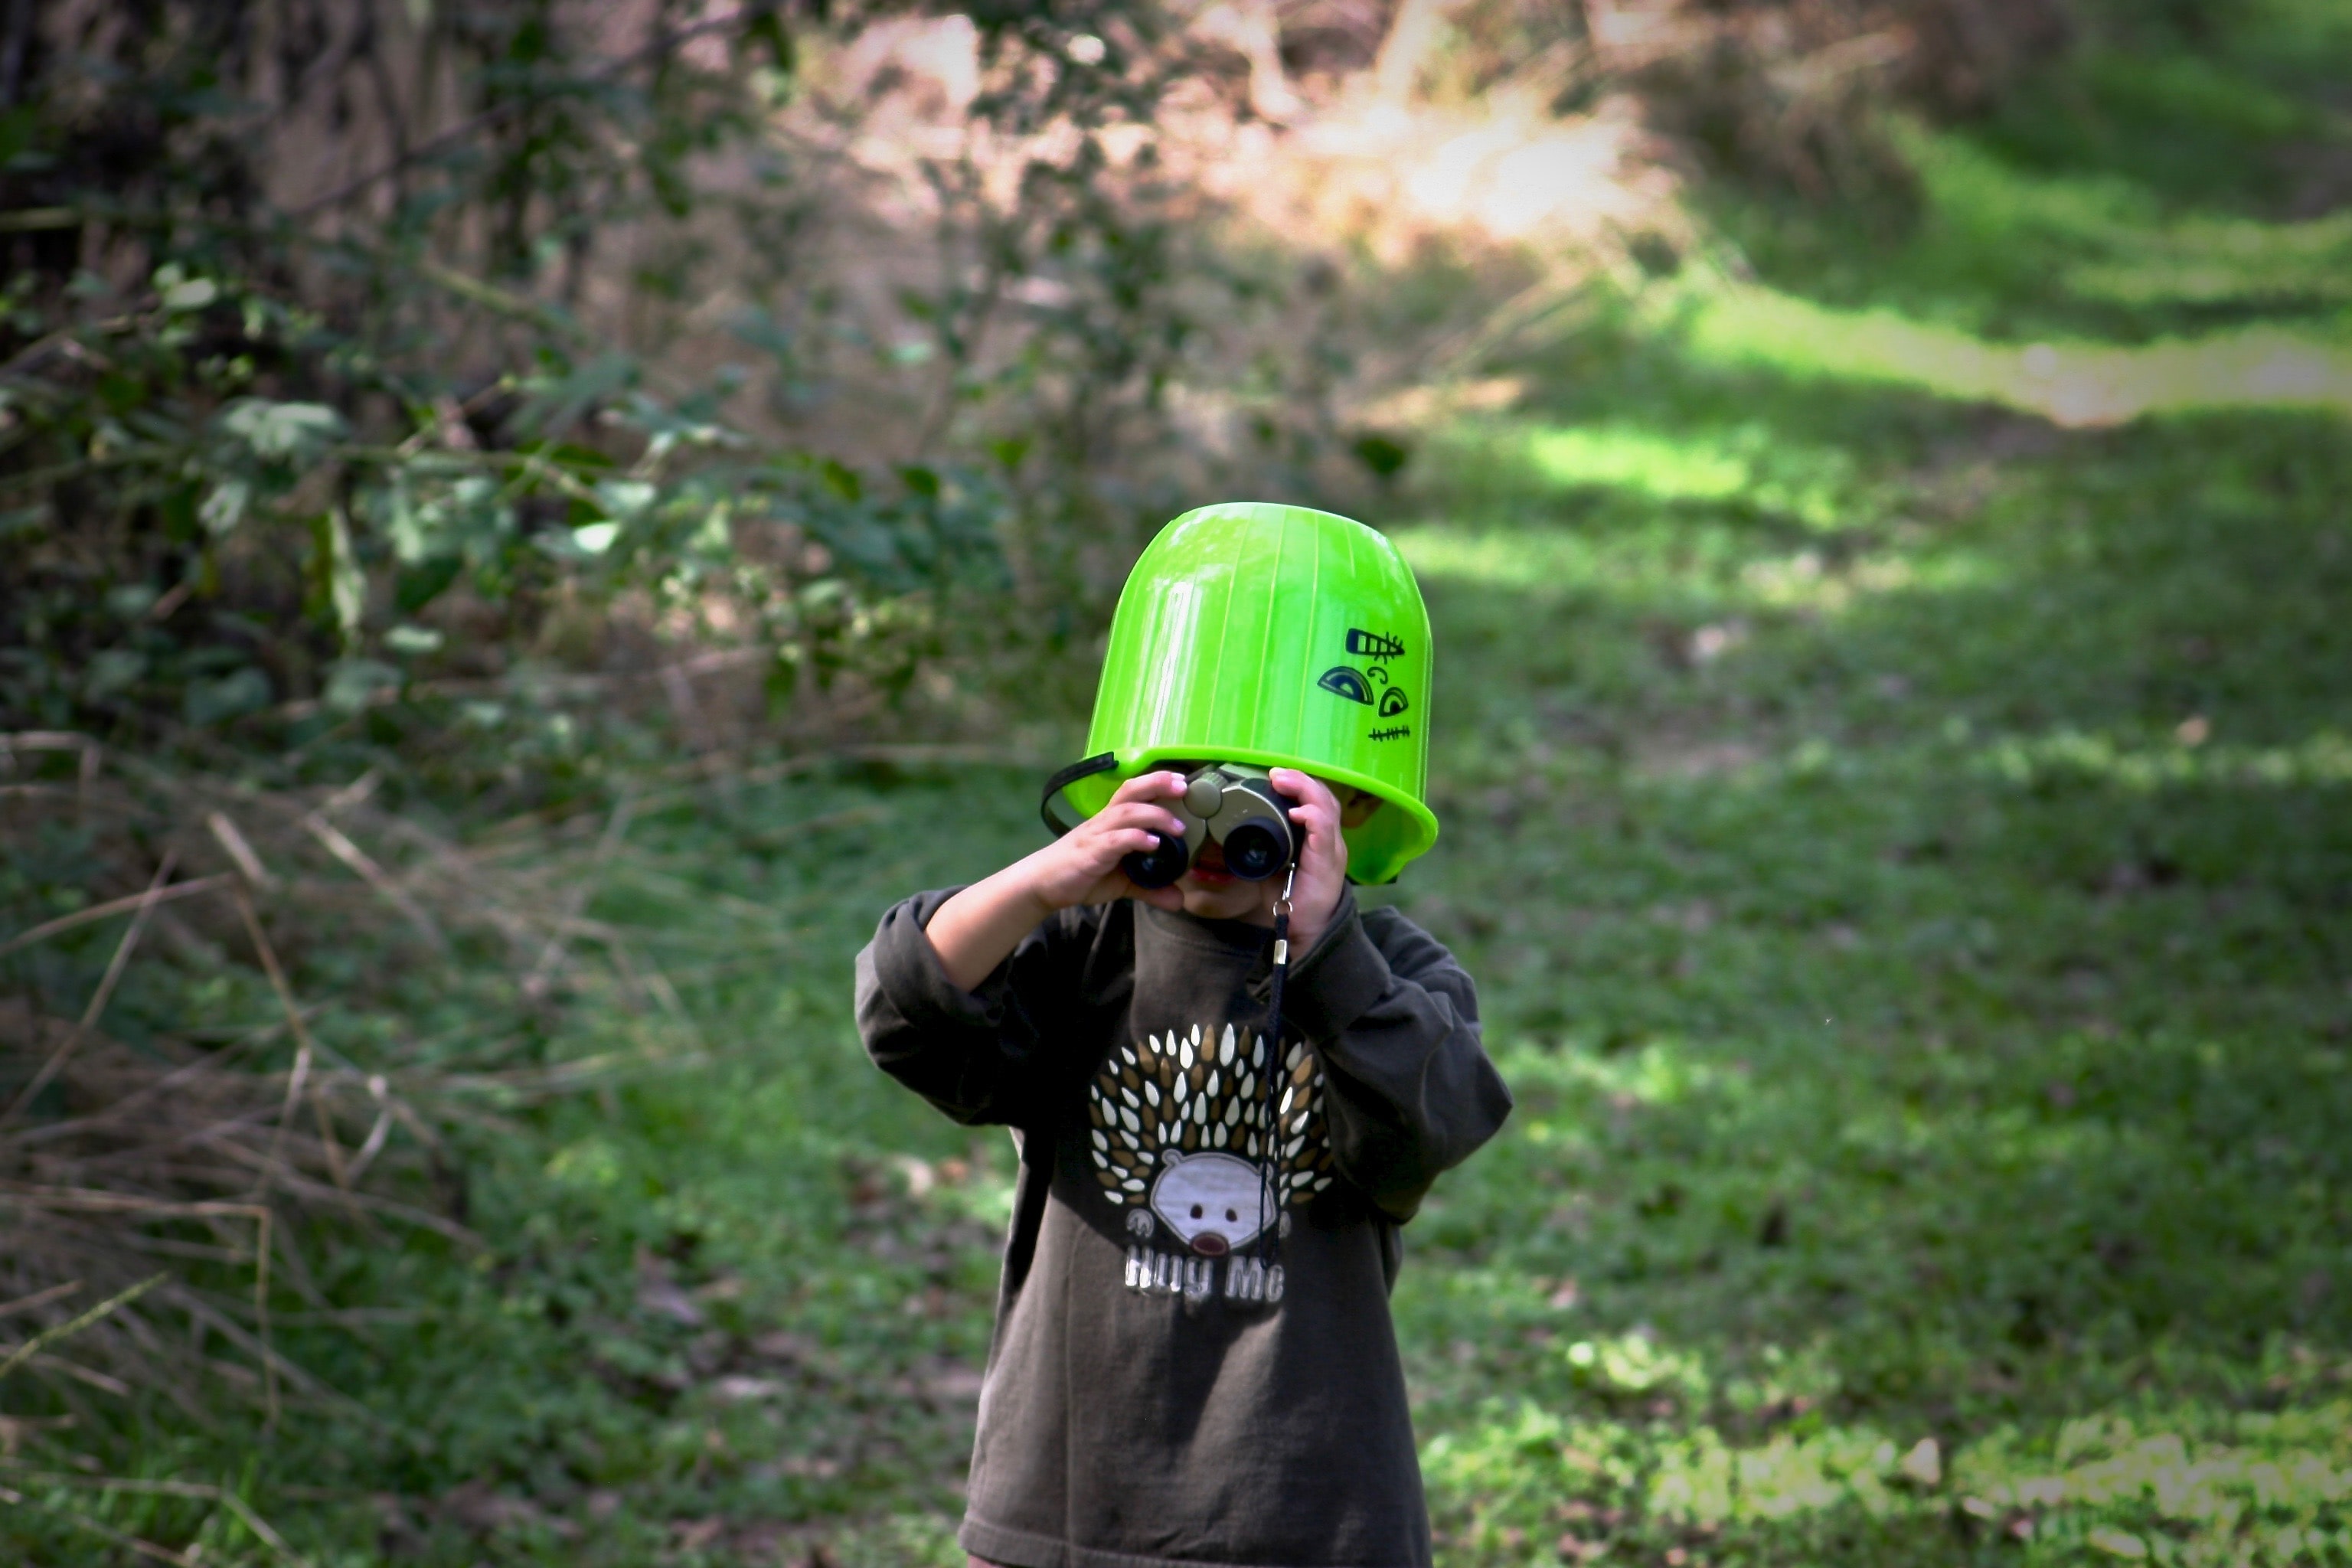
DIY Binoculars for Kids

Children are natural explorers! They see the whole world differently from us adults. When kids look around, they see adventures and are so very eager to put on their boots and immerse themselves into explorations. They are easily compelled to the wonders of nature, from animals to plants. Here is a way to make DIY binoculars for kids that you can make together and encourage creativity and a sense of adventure as well!
Start with preparing the materials.
- Cardboard
- Chart Paper
- Adhesive tape
- Green cellophane
- White paper
- Box Cutter
- A pair of scissors
- Glue
Procedure
1. Measure
- Place your chart paper on a landscape position as you mark the measurements.
- The upper portion will be divided into two, each having 15cm in width and 7cm in height.
- Next is the lower left part of your chart paper, measuring 2 portions with 14 cm in height and 6 cm width.
- For the base that would put the binoculars together, draw two circles that have 2.5 radius and are 3 cm apart. Repeat the process of drawing two circles with 3 cm distance from each other, but this time has only 1.5 diameters each.
2. Trim and Form tubes
(Be sure that kids are supervised with an adult as they proceed in cutting or trimming the chart paper and cardboard with scissors or cutter) Your kids or student can help you out on this part, they would surely love applying glues and adhesive tapes.
- Starting cutting the upper part of the chart paper.
- Form tubes using the 15 cm x 7 cm paper.
- The diameter of the tube will be based on the circle with 2.5 radius.
- After ensuring the diameter of the tube, place tapes to secure its hold.
- Repeat the process for the other piece.
- You may now proceed to the part that has a 24 cm x 6 cm measurement.
- Cleanly cut the paper.
- Form tubes with 1.5 diameter
- Set aside the 4 tubes and start cutting off the outer border of the base.
3. Making the base
- Use a cutter in cropping the inner circle, then set aside.
4. Placing the cellophane
- Measure and cut the acetate on the size of the diameter of each tube.
- Tape the cellophane on the base of your tubes.
- Make sure that all edges of the cellophane are securely taped unto the tube, Use the tape generously around the cellophane.
- Cut strips of white papers that are long enough to go around the end of the tube.
5. Strong Base
- The chart paper that was previously cut up will be used as a pattern for the cardboard base.
- Apply a generous amount of glue unto the cardboard that has already been trimmed. Next, you can ask kids to place the chart paper pattern on top of the cardboard.
6. Assemble
- Fit the smaller tubes onto the base
- Using glue, attach the bigger tubes on the other end of the base. Let it dry for a minute or two.
- Voila! Your DIY binoculars for kids is now ready to aid your little one on their newest expedition.
This is an exciting camp activity that starts off as a craft project and can be later used for bird watching. Perfect indoor adventure game as well, during rainy days or whenever energetic kids are stuck at home. It brings so much joy whenever the kids discover new things. The world is such a big place and has so much to offer. We hope this DIY Binoculars for kids can help you out in creating new memories that you and your loved ones would always go back to.

